
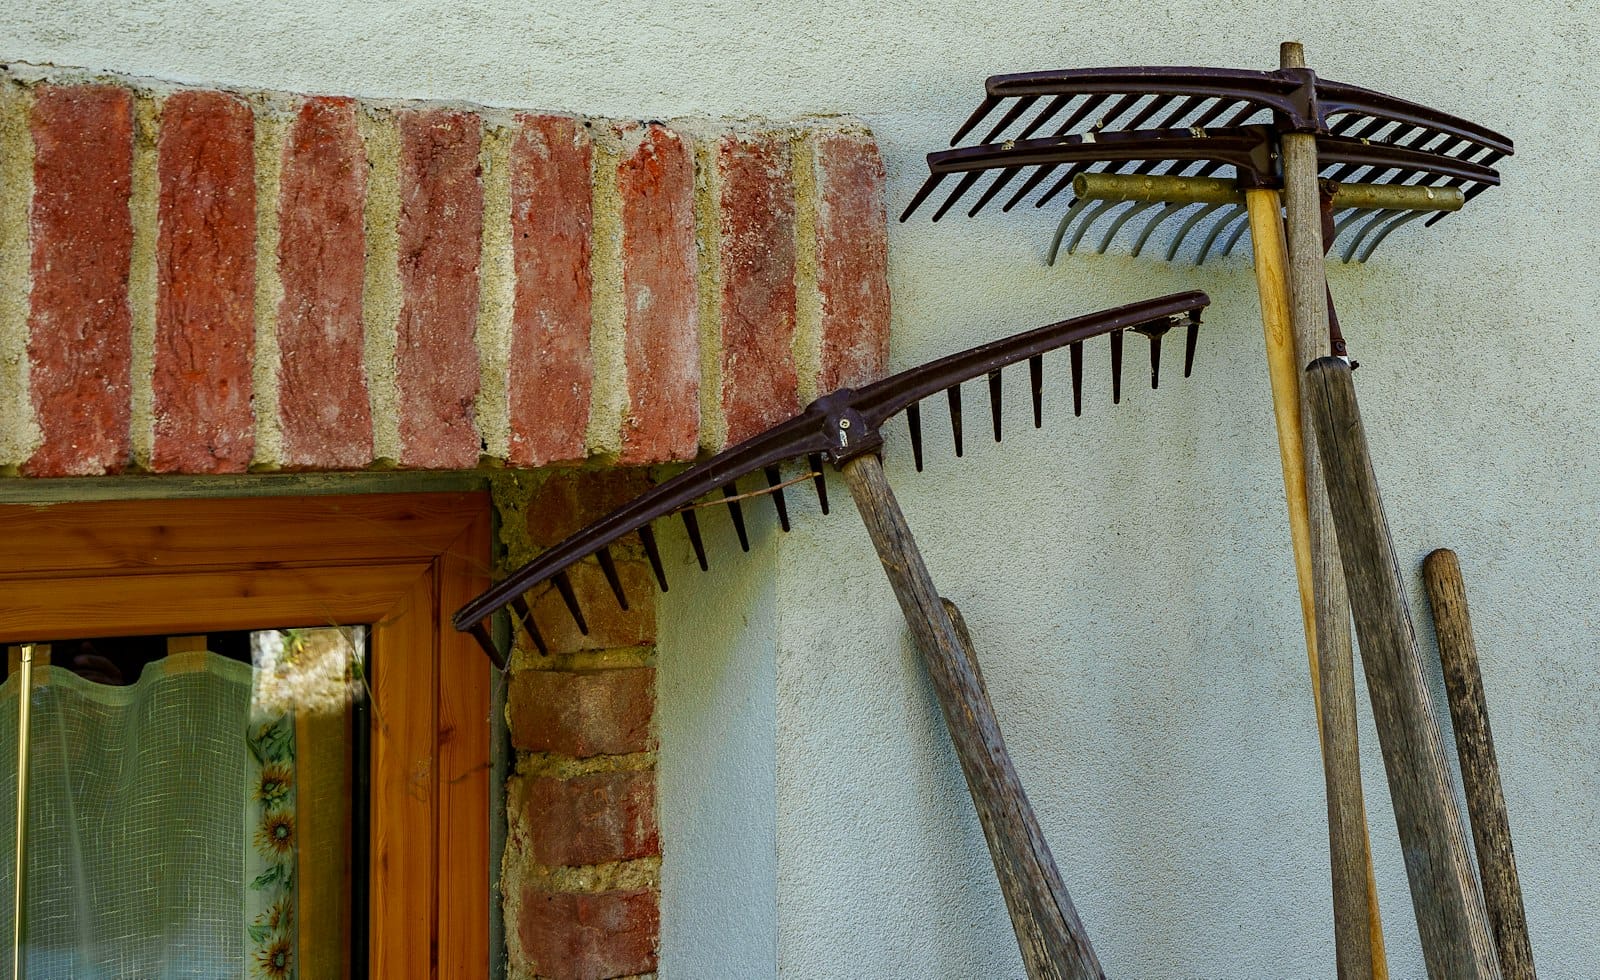
The best time to clean garden tools is right now, before they go into the shed for winter. A short routine of brushing off soil, drying the metal and adding a drop of oil keeps blades sharp, handles solid and rust away until spring. You need an old towel, a stiff brush and about ten minutes per tool.
Why it pays to clean garden tools before winter
Tools usually get put away dirty at the end of a busy season. Damp soil clinging to a spade will hold moisture against the metal for months, and wooden handles that stay wet can swell and roughen. Dried sap does the same to secateurs, gumming up the blades until they stick.
A proper end-of-season clean means you can walk into the shed on the first mild day of spring and start work straight away. It also saves money, because well cared-for tools simply last longer. If you have been busy collecting leaves this month, our guide on how to make leaf mould is a good way to use that autumn energy before the tool tidy-up.
Start with a dry brush-down
Begin with the tools that touch the soil: spades, forks, hoes, rakes and trowels. Work through them in this order:
- Scrub off the loose soil with a stiff brush. Do this outdoors so the mess stays in the garden.
- Hose down any tool that is very muddy, but only if you plan to dry it straight afterwards.
- Dry the metal and the handle thoroughly with an old towel.
- Check the handle for splinters and the head for loose fixings.
The Royal Horticultural Society notes that drying matters because it stops wooden handles swelling and metal from rusting, which is why the towel step should never be skipped. You can read its short winter tool care advice for the full picture.
Deal with sticky sap on cutting tools
Secateurs, loppers, saws and shears need a little more attention than a spade. Sap builds up on the blades, dries and makes the tool stiff to use. Loosen it with a nylon pan scourer or fine wire wool, using a water-displacing spray if the build-up is stubborn, then wipe the metal clean with a cloth.
Wear gloves while you do this, since wire wool and oil products are hard on bare hands. Keep your fingers well behind the cutting edge, and close the tool or fit a guard before you put it down.
Disinfect only when it matters
Cleaning and disinfecting are two different jobs, and cleaning always comes first. University of Minnesota Extension explains that dirt left on a tool interferes with disinfecting, so soil and debris should be washed and scrubbed off before you apply anything. Its guide to cleaning and disinfecting gardening tools suggests doing both in autumn before winter storage, and again whenever you have cut a diseased plant and are moving on to a healthy one.
A few practical points help here:
- Rubbing alcohol at 70 percent or more is a convenient option for wiping pruner blades between plants.
- A diluted bleach solution suits large tools and pots, but it can corrode metal and pit blades, so keep it away from anything that needs a sharp edge.
- The RHS suggests leaving a disinfectant on used blades for 15 to 20 minutes before wiping it off, and cleaning your brushes and cloths too.
- Always dry blades well afterwards and oil them before storing.
Oil the metal and the pivots
Once everything is clean and completely dry, add a thin film of oil. For spades and forks, a light wipe with a general-purpose oil is enough, and the Extension guide recommends linseed, tung or mineral oil for metal. It specifically warns against motor oil, which may transfer to your plants.
For cutting tools, tighten any loose nuts, put a single drop of oil on the central pivot and open and close the blades a few times to work it in. If you spot rust, remove it with steel wool or a wire brush, then re-oil the area so it does not return.
Sort out storage so spring is easy
Store cutting tools somewhere clean and dry, and hang larger tools off the floor if you can. A shed wall with a few hooks beats a damp corner every time. The RHS also suggests keeping a brush and an old towel near the storage spot, which makes it far more likely that you will wipe tools down after each use rather than once a year.
While you are tidying, it is a sensible moment to check what you will need next season. If you are planning ahead for spring colour, our article on how to plant spring bulbs shows what to do while the ground is still workable.
Where to start
Do not try to tackle the whole shed at once. Pick the three tools you use most, usually a trowel, a spade and your secateurs, and give them the full routine this weekend. Once the habit is in place, the rest of the collection takes no time at all, and you will be glad of every sharp, rust-free blade when spring arrives.