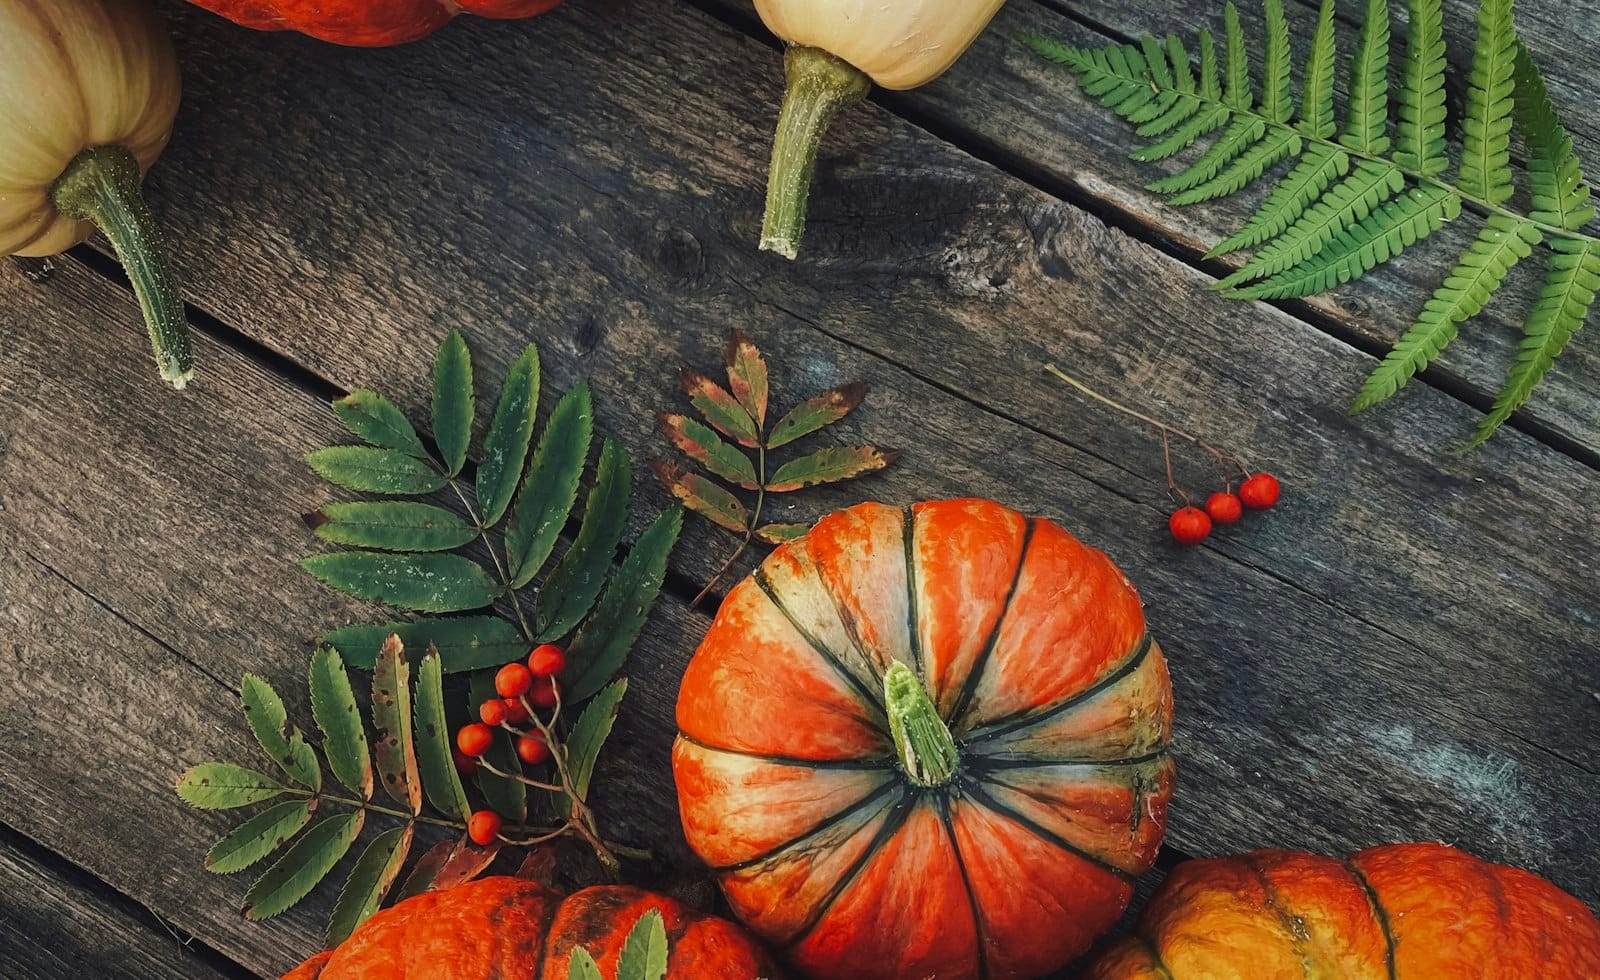
Making homemade pumpkin puree takes one pumpkin, one baking tray and about an hour of mostly hands-off oven time. The short version: halve a small cooking pumpkin, roast it cut side down until a fork slides in easily, then scoop and blend the flesh until smooth. Here is the full walkthrough, from choosing the pumpkin to storing every last spoonful.
Start with the right pumpkin
Not every pumpkin is meant for the kitchen. The giant carving types tend to be watery and stringy, so look for smaller pumpkins sold as cooking, pie or sugar varieties. Whatever you pick, it should feel firm and heavy for its size. Iowa State University Extension suggests choosing one with an inch or two of stem left and no deep blemishes or soft spots.
A pumpkin about the size of a large grapefruit is easy to handle and fits on a standard baking tray. If you are carving a pumpkin for Halloween, keep that one for the porch and buy a second one for cooking.
What you need before you begin
- A sturdy, sharp knife and a stable cutting board
- A large baking tray, lined with baking paper if you like easy cleanup
- A big spoon for scraping out the seeds
- A food processor, blender or potato masher
- Freezer bags or containers for storing the puree
Step 1: Cut and clean the pumpkin
Wash the outside, then cut the pumpkin in half from stem to base. If the skin is tough, rest the pumpkin on a folded towel so it cannot slip while you cut. Scrape out the stringy pulp and seeds with a spoon and give the halves a quick rinse.
Do not throw the seeds away yet. You can rinse, dry and roast them separately as a snack, and the leftover pulp and skins are a good fit for a compost bin.
Step 2: Roast the halves until tender
Place the halves cut side down on the tray. Following the method described by Iowa State University Extension, bake at 350°F (about 175°C) for roughly an hour, until a fork goes in easily. Smaller halves may be ready sooner, so start testing at 45 minutes.
Roasting cut side down traps steam under the pumpkin, which softens the flesh and keeps it from drying out. If you are short on time, the same source says you can microwave the halves cut side down on a microwave-safe plate for about 15 minutes, then add one or two minutes at a time until tender.
Step 3: Scoop and blend into puree
Let the pumpkin cool until you can handle it. The skin should now peel away easily, or you can simply scoop the soft flesh out with a spoon. Blend it in a food processor until smooth, or mash it by hand with a potato masher for a rustic texture. A food mill or fine strainer also works well.
Fresh puree can be a little looser than the canned kind. If yours looks watery, spoon it into a sieve lined with a clean cloth or paper towel and let it drain for 15 to 20 minutes. That extra step makes a big difference in baking recipes where moisture matters.
Ways to use your homemade pumpkin puree
Once you have a bowl of puree, the options open up. Iowa State University Extension notes you can use it in equal amounts wherever a recipe calls for canned solid-pack pumpkin. A few easy ideas:
- Stir it into a pot of soup with onion, stock and a pinch of nutmeg
- Fold it into pancake or waffle batter for a soft, golden crumb
- Mix it into muffins, loaf cakes or a classic pie filling
- Swirl a spoonful into porridge or yoghurt
- Blend it with cooked pasta and a splash of cream for a quick sauce
How to store and freeze pumpkin puree
Cool the puree completely before storing it. In a sealed container it will keep in the fridge for a few days. For anything longer, freezing is the simplest route. The National Center for Home Food Preservation describes the basic method: cook, mash, cool the pan in cold water, then pack it leaving half an inch of headspace, seal and freeze.
Freeze it in practical portions, such as one-cup amounts that match common recipes, and label each bag with the date. Lay the bags flat so they freeze quickly and stack neatly. If you like keeping your freezer tidy, our guide on how to organize your home for a stress-free life has storage ideas that work for kitchens too.
One caution: the sources used for this article cover roasting and freezing only. If you want to preserve puree in jars, check a current tested guide from your local extension service or national food safety authority first rather than improvising.
Common mistakes to avoid
- Using a carving pumpkin. The flesh is usually watery and bland, so choose a cooking variety.
- Roasting cut side up. The surface dries out before the middle softens.
- Skipping the draining step. Watery puree can make baked goods heavy.
- Freezing in one big block. Portion it first so you only thaw what you need.
- Wasting the scraps. Roast the seeds or add peelings to compost.
Autumn cooking pairs nicely with a warm home, so if you are in a seasonal mood, take a look at these small changes that make your home cozier this autumn while the oven does its work.
Your next step
Pick up one small cooking pumpkin this week and try the oven method once. You will end up with enough puree for a pot of soup tonight and a couple of bags for the freezer. After that, making homemade pumpkin puree becomes an easy autumn habit.